
How to Use 3D Printing Molecules
Preparing a molecule model for 3D printing has never been easier. The entire process can be summarized in three quick steps:
Step 1: Select a Molecule
First, tell the program which substance you want to model. You can use automatic import or upload your own data.
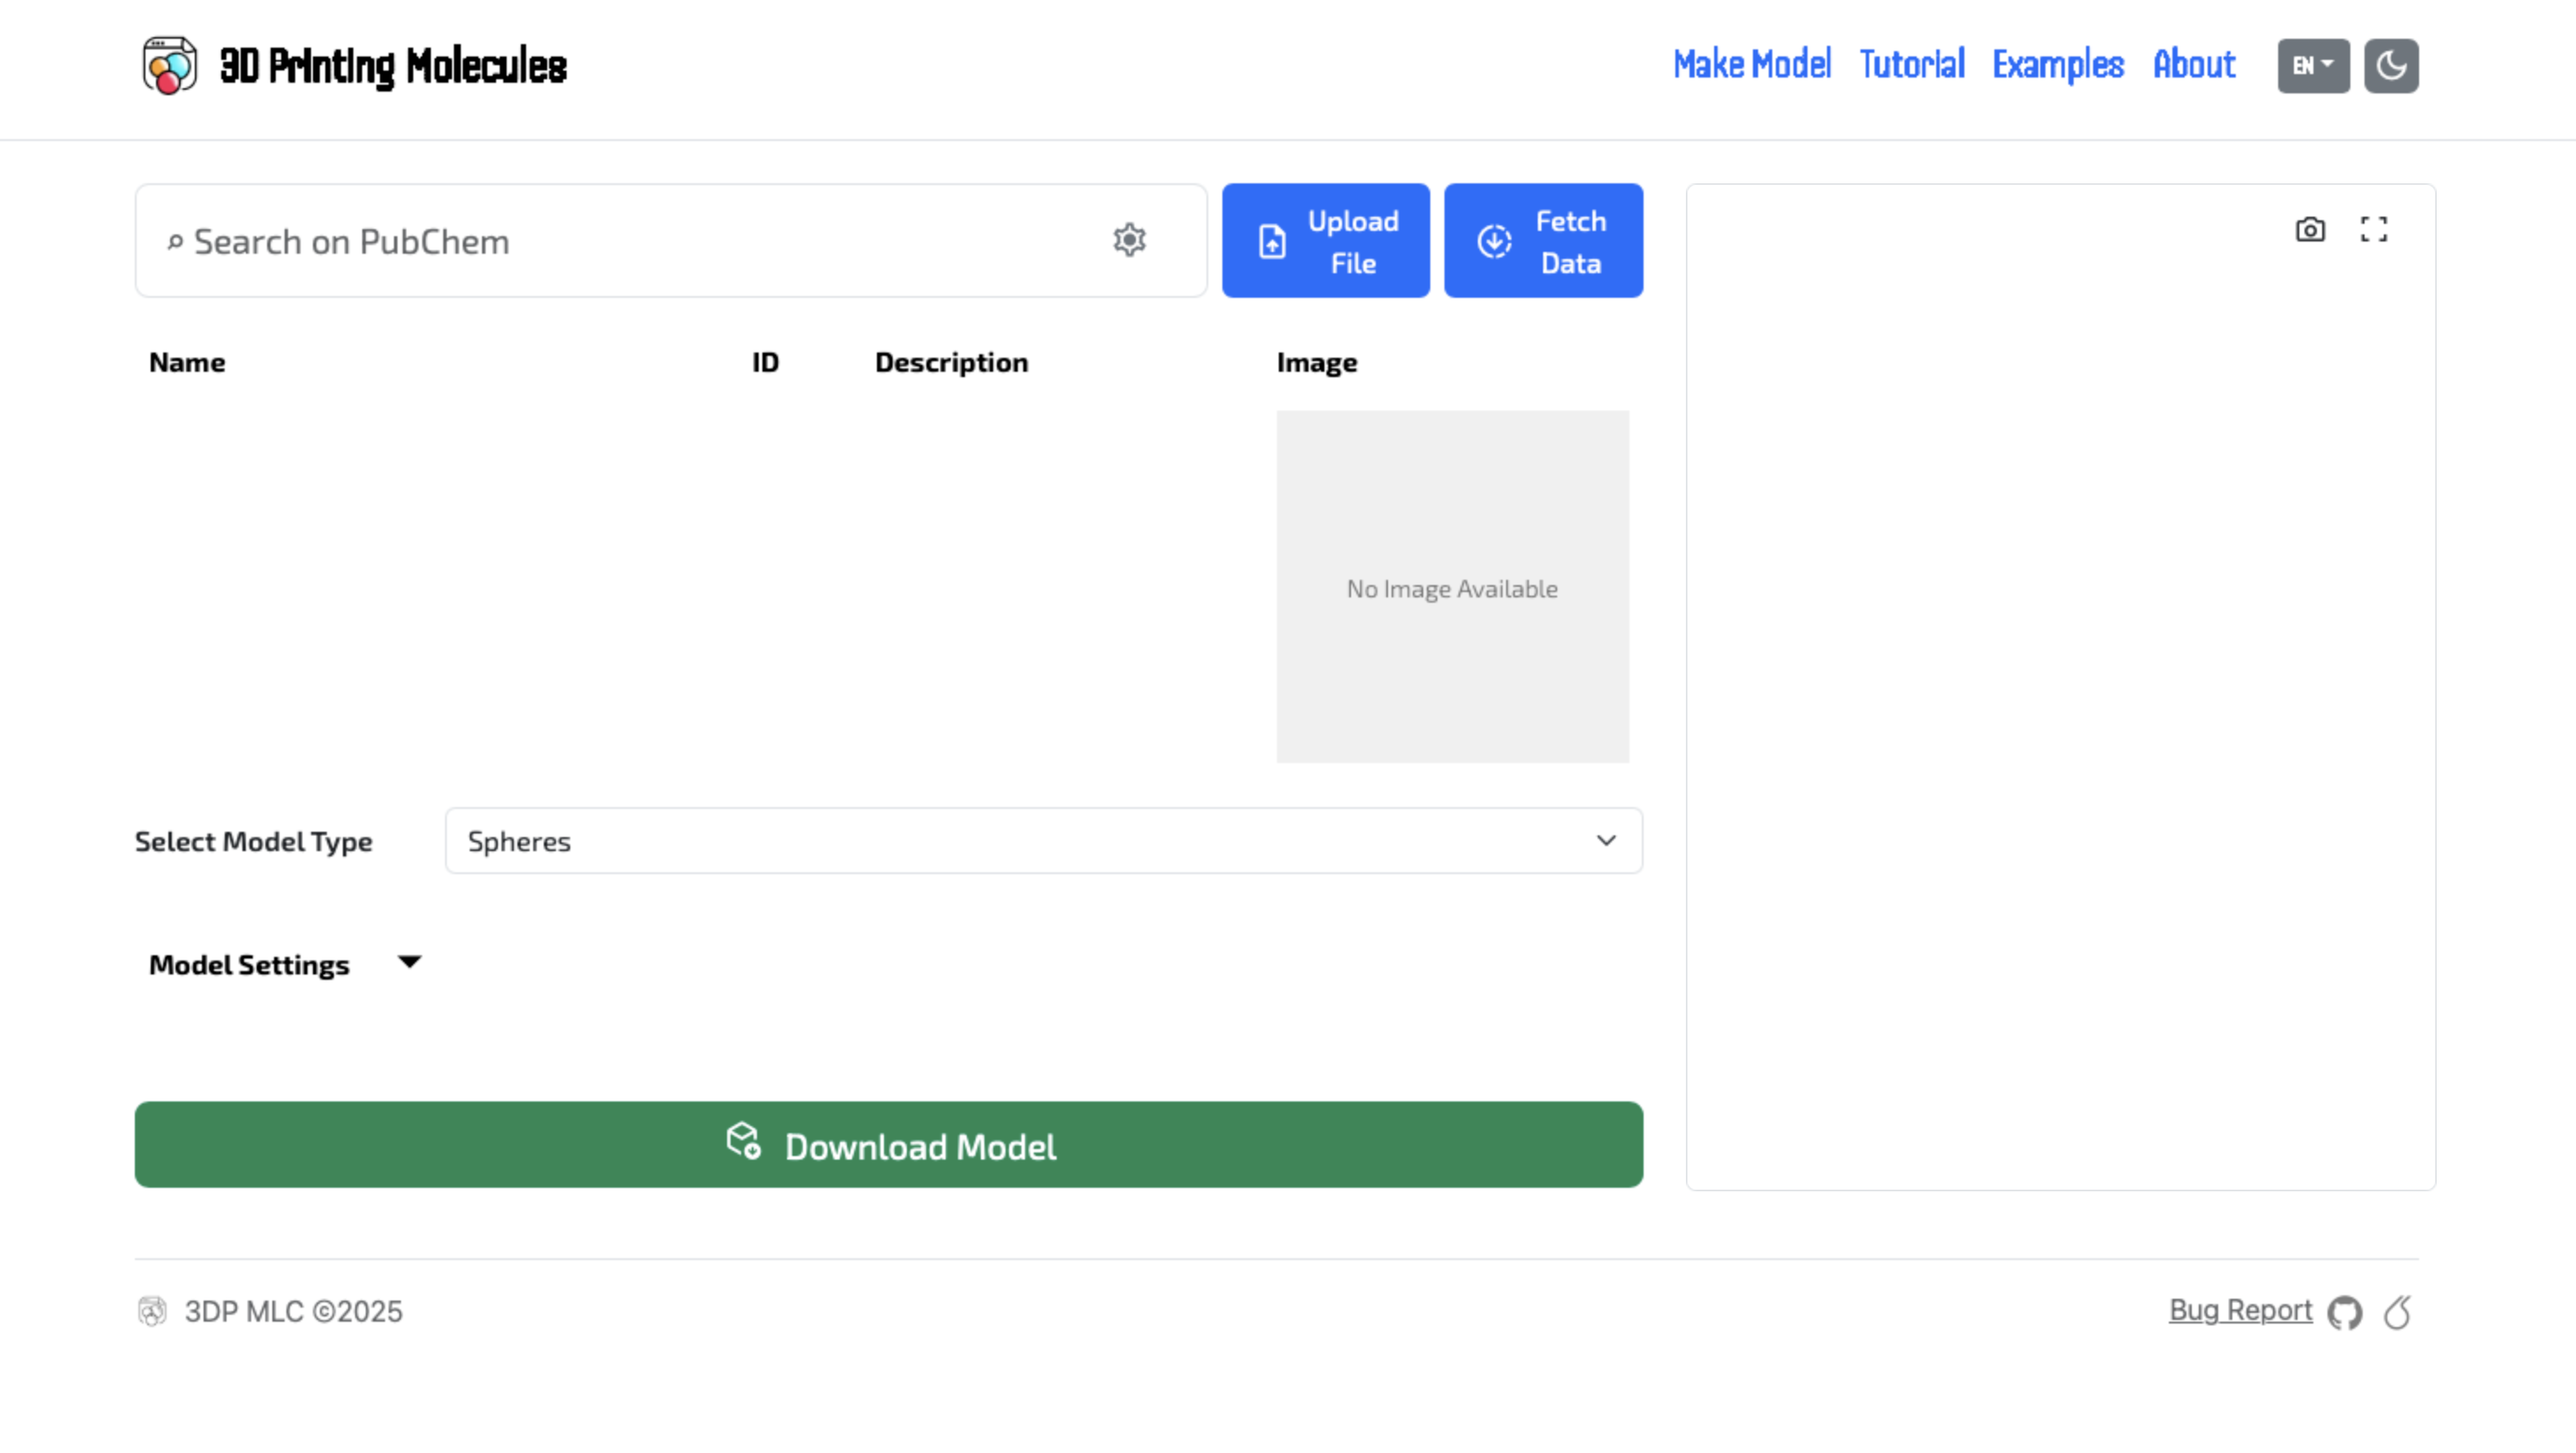
Fig. 1: PubChem search interface
- 1Search: Enter the English name of the substance into the "Search on PubChem" field and press Enter. Data will automatically download from the public database.
- 2Custom Data: If you have your own
.sdffile, use the Upload File button followed by Fetch Data.
Step 2: Display Interface
After loading the data, the model settings will become available. The first step is selecting the molecule representation.
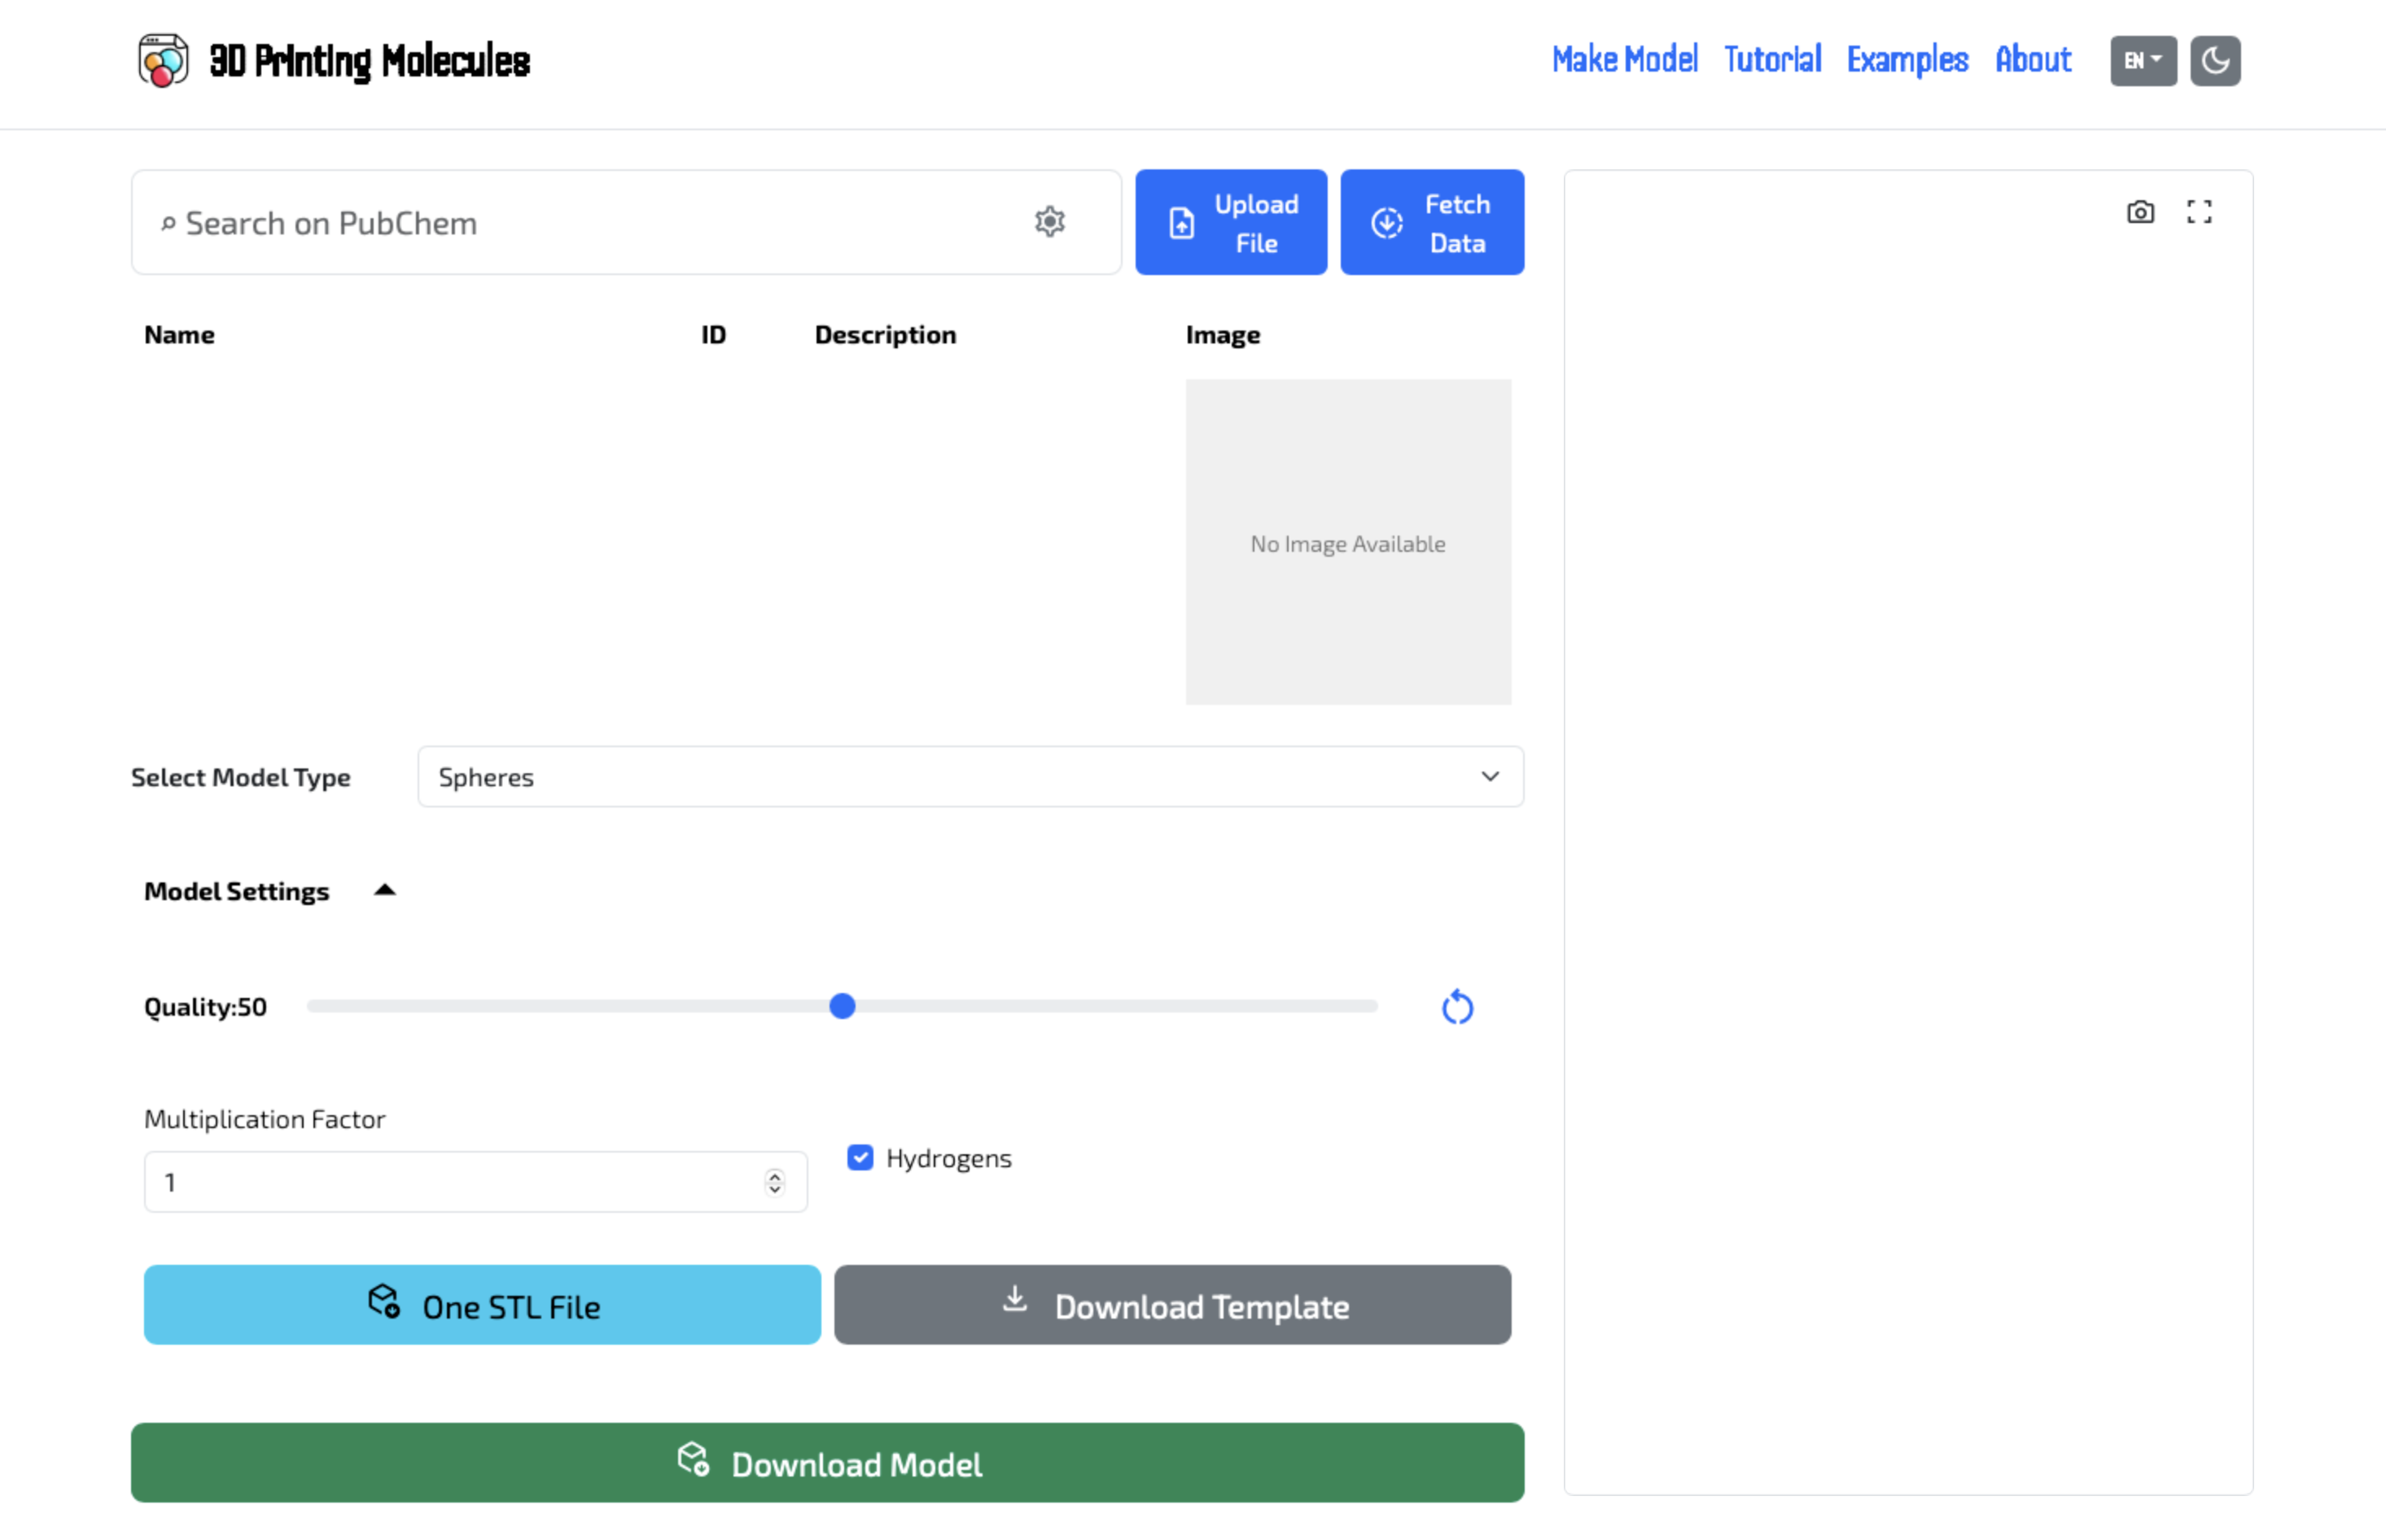
Fig. 2: UI showing the representation dropdown menu
Step 3: Choose Representation Type
Choose the look that best suits your needs for education or 3D printing.
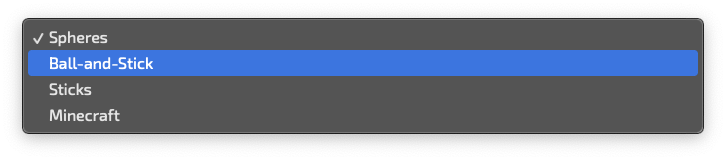
Fig. 3: Dropdown menu options
- 3Select Model Type: Select the desired look (Spheres, Ball-and-Stick, Sticks, or our secret Minecraft mode).
Step 4: Parameter Settings and Export
Adjust the details and proportions of the model for optimal printing. Hover over the individual options below to see how the parameters visually change the result.
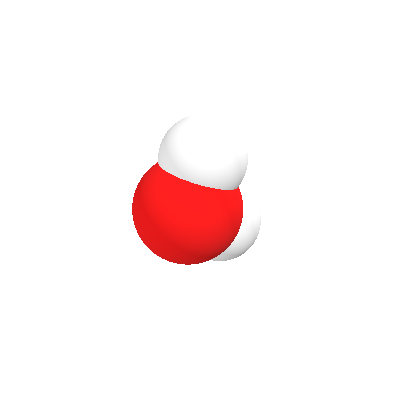
Default Mesh Quality (Quality: 50)
Standard setting for a nice and smooth spherical model.
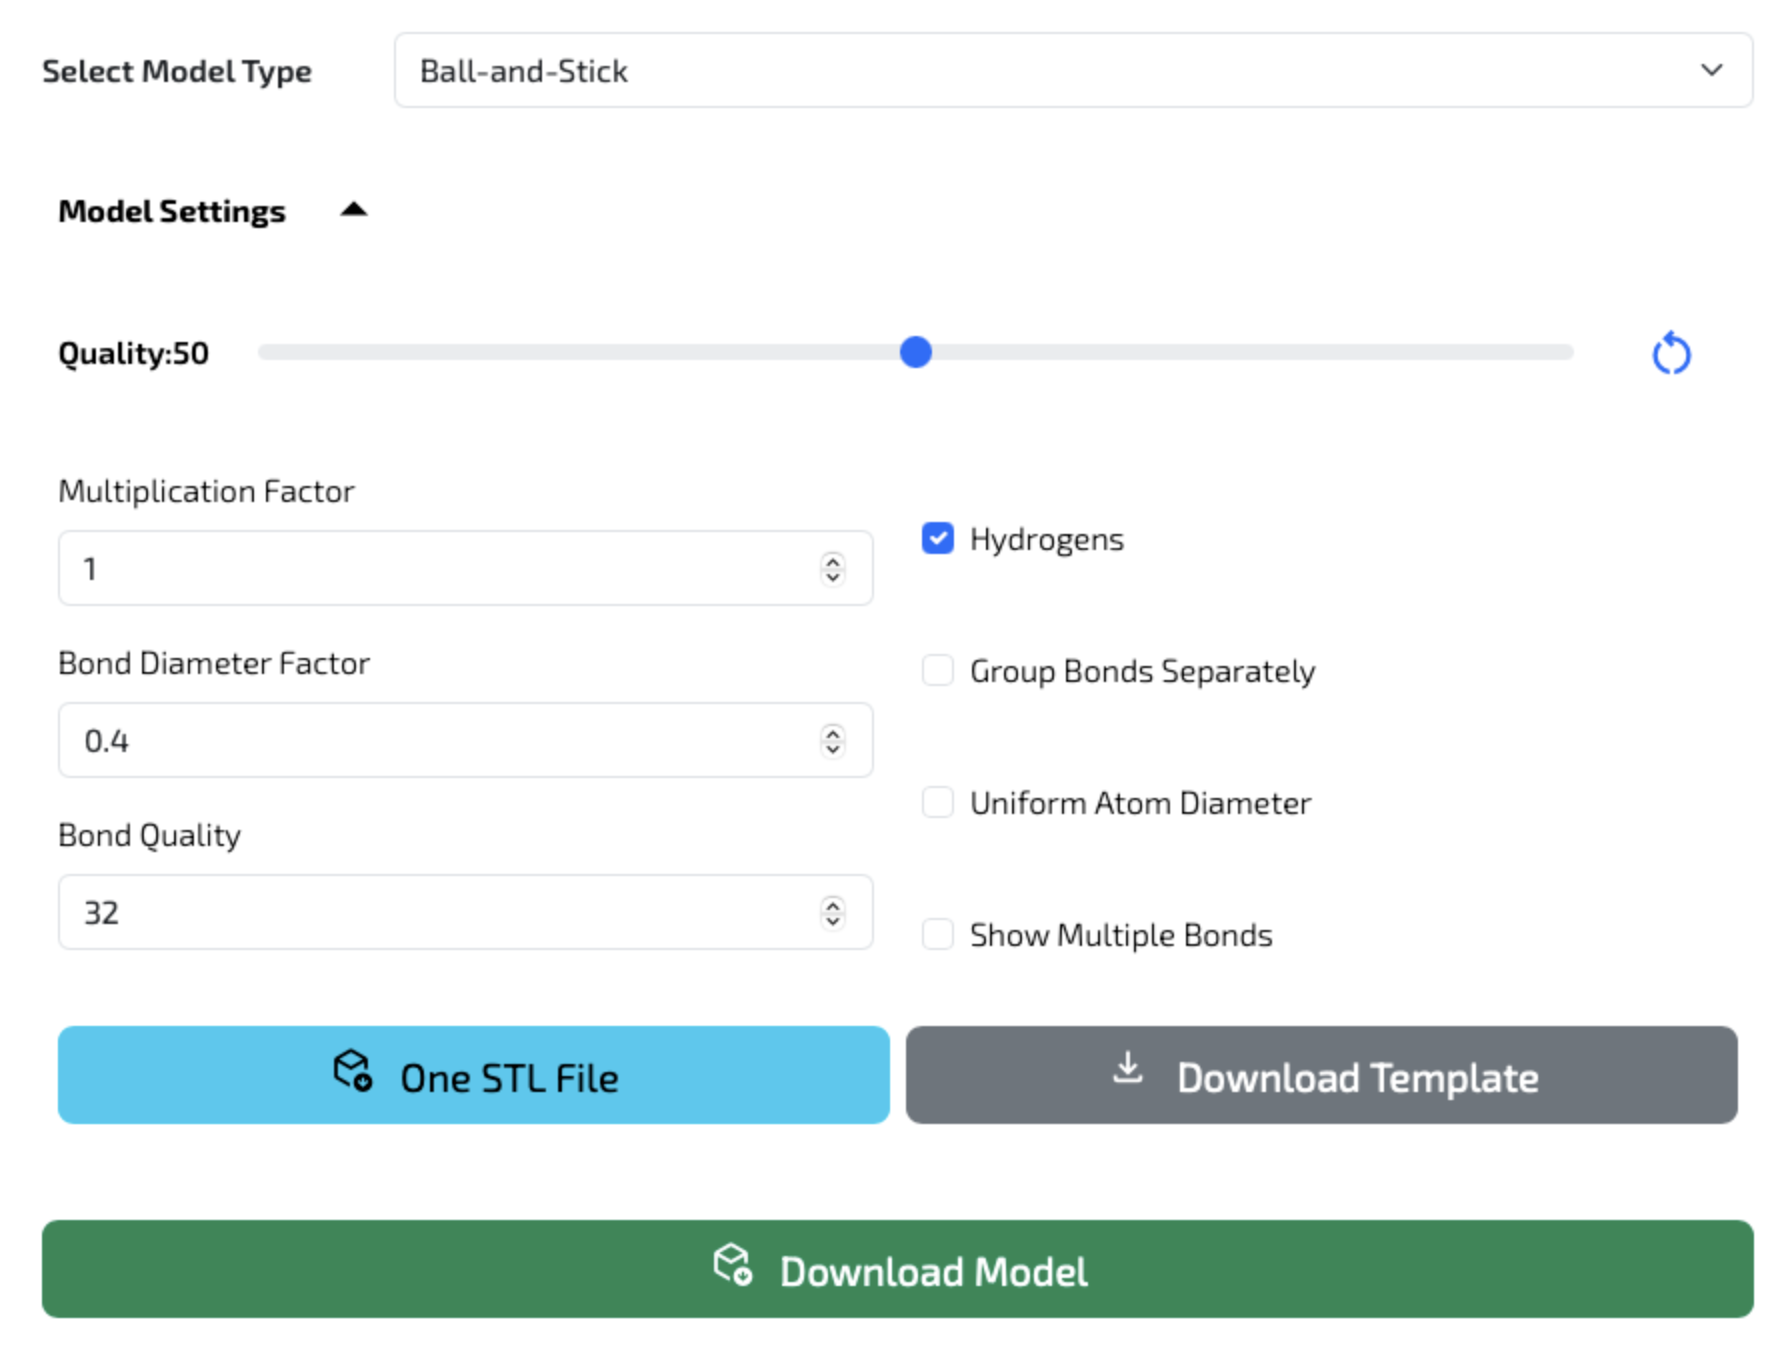
Fig. 4: Model parameters and export options
- 4Model Settings: Here you can adjust the quality, model size, bond diameter, or display of hydrogens.
- 5Export Options: The Download Template button downloads the raw
.sdfdata of the molecule. The blue One STL File button exports a merged single-color model. - 6Final Multicolor Export: Using the green Download Model button, you will download a
.ziparchive with models separated by atoms for easier color assignment in the slicer.
Step 5: Apply Changes (Reload)
The image shows a more complex model (ATP). Remember that after any adjustment in the Model Settings section, the preview does not update automatically.
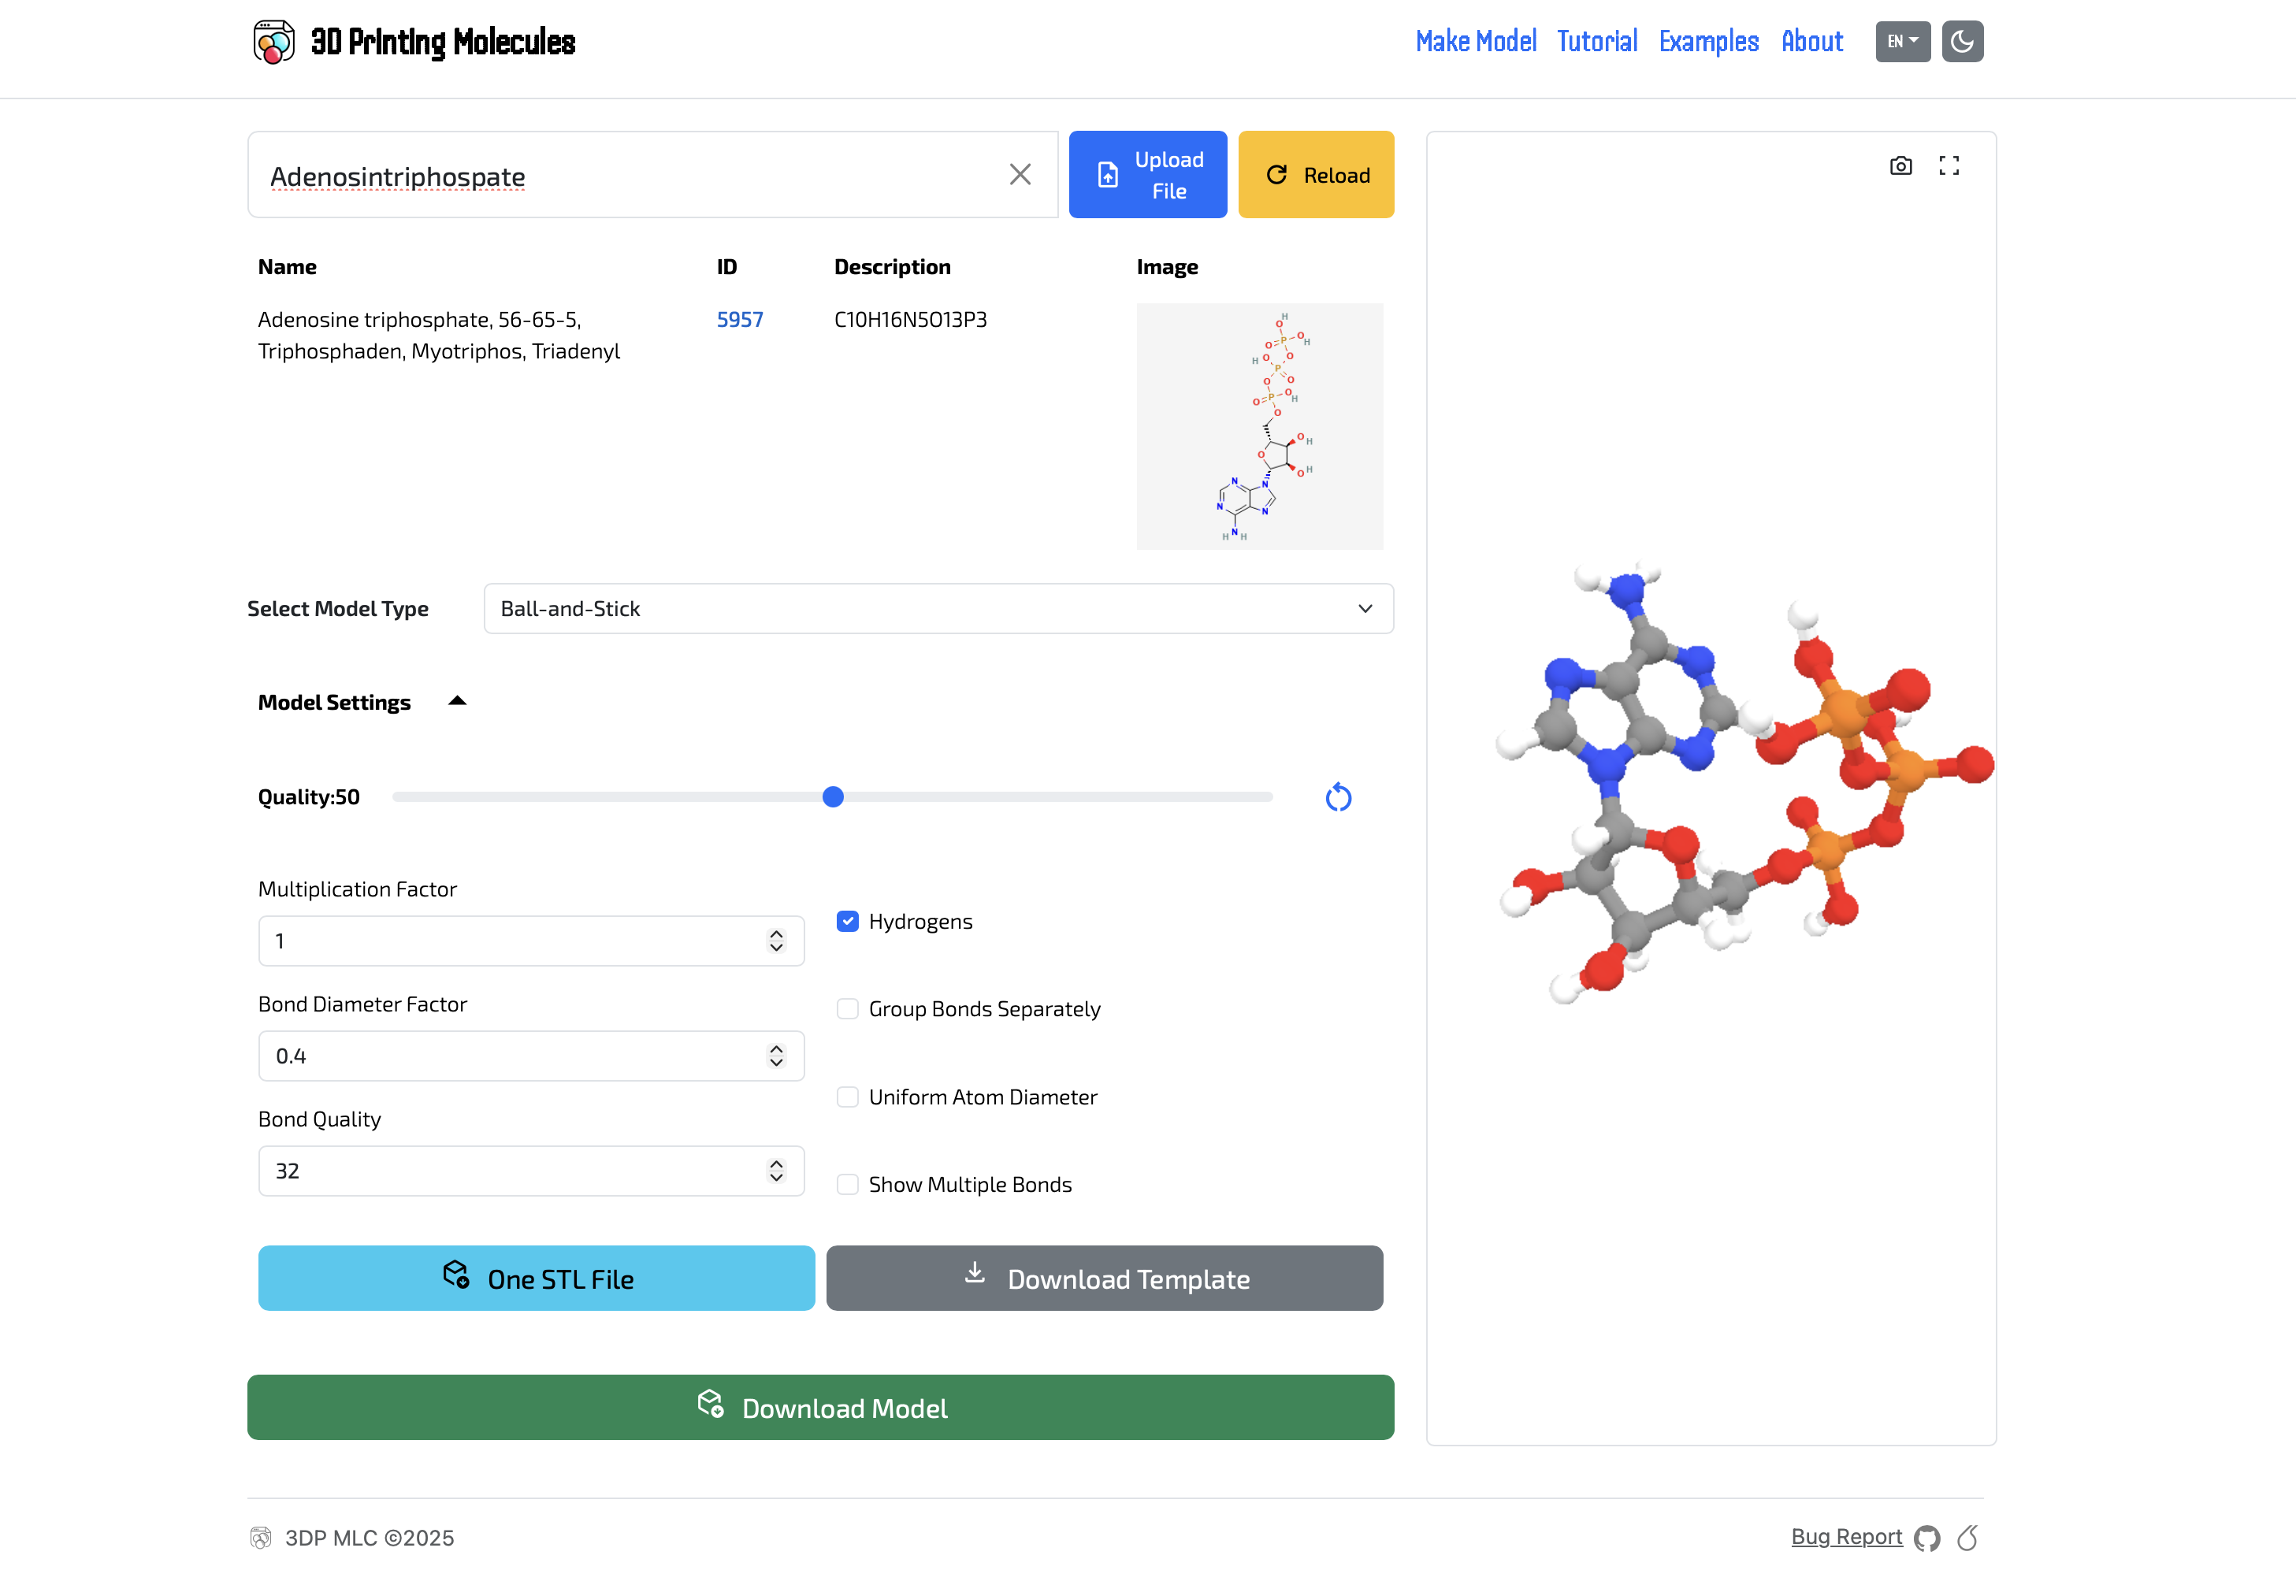
Fig. 5: ATP model and the yellow Reload button
- 7Reload Button: Whenever you adjust the settings, always click this yellow button first. This applies the changes to the 3D preview.
How to import to slicer?
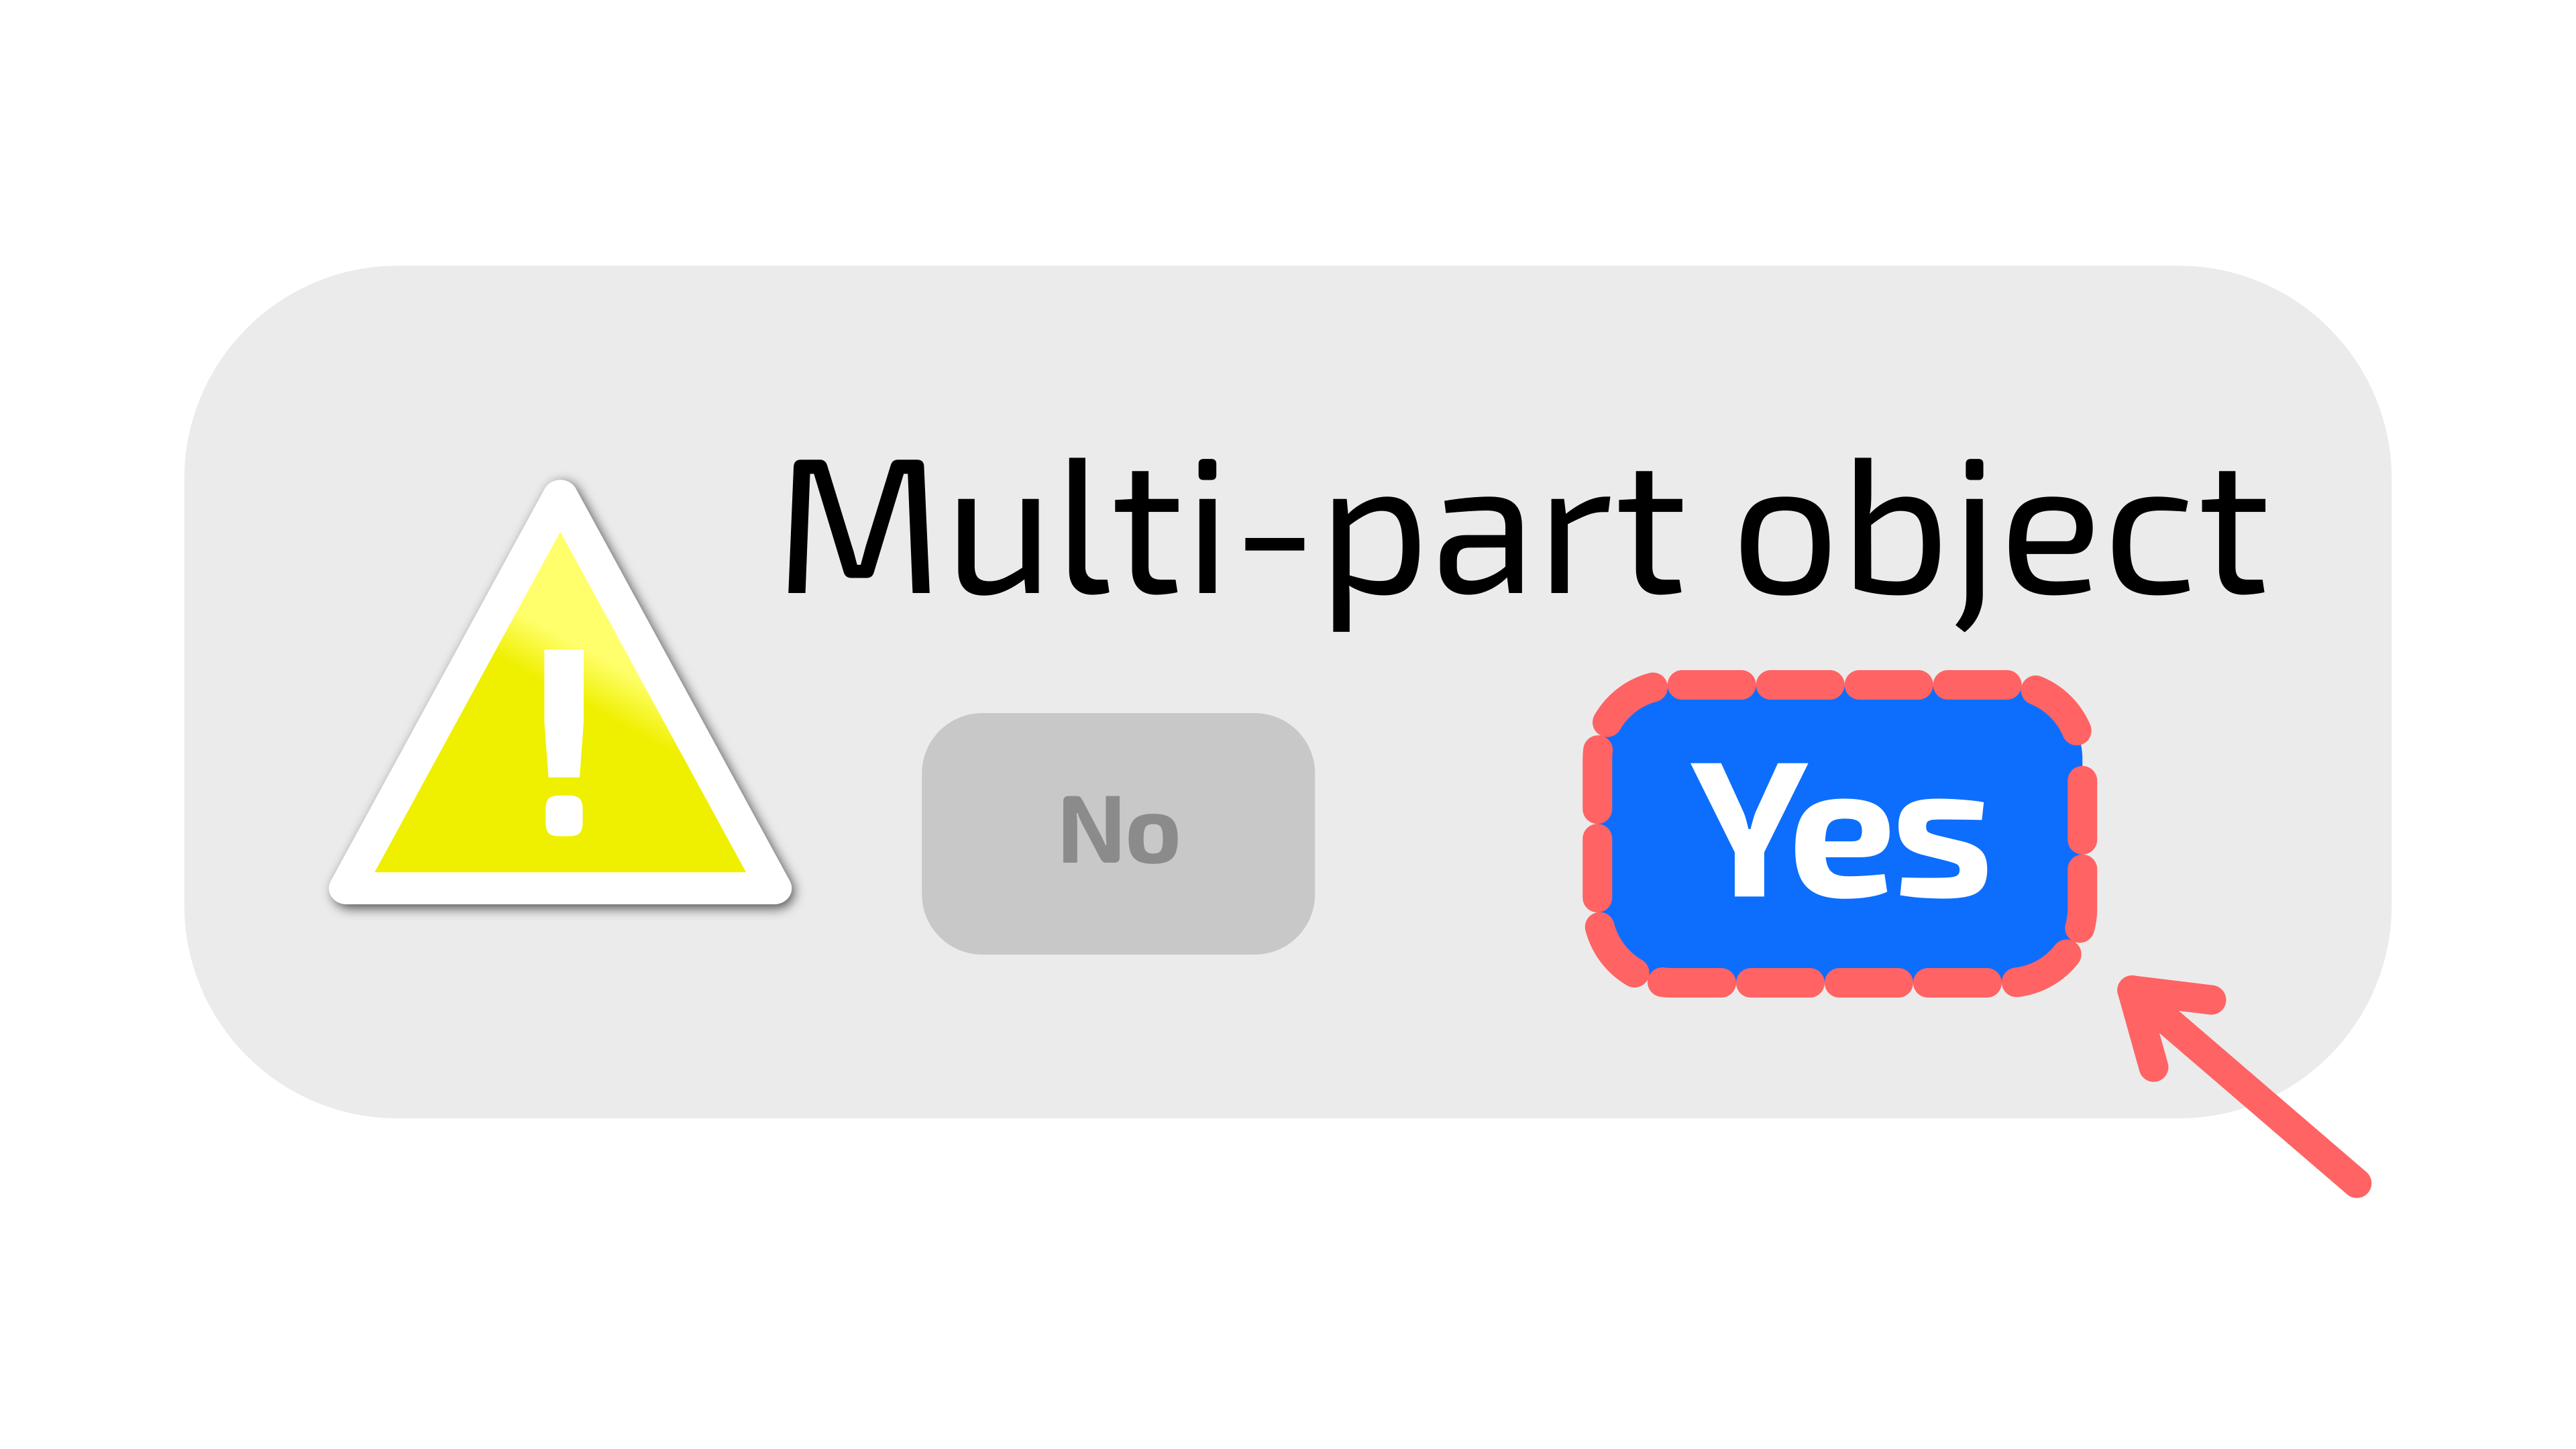
For multicolor molecule printing, ensure the slicer shows the message
‘Multi-part object detected / An object with multiple parts was detected,’
then confirm by selecting ‘YES.’
Try Ready-to-Print Models on Printables
Looking for inspiration or want to print popular molecules directly without tweaking settings? Explore our collection of verified, ready-to-print 3D molecule models directly on Printables.